Showing posts with label Disco Dancing. Show all posts

Monday, February 8, 2010

FGP#25 "Clubbing the Night Away" final touches

It is always tricky thinking out the presentation of a beadwork piece. I was not satisfied with the way that the 6 of clubs piece hung. The wire joins at the top where I placed loops for hanging created small hinges which moved just enough to allow the piece to bend and not hang straight. I searched for heavier wire but would have to had used brown. The 14 gauge wire that I used was the heaviest black I could find, I really did not want to add a brown border by whip stitching another round of wire with a different join site. I had no luck at craft and/or hardware stores finding something that would do the trick. However, it was time to get my teeth cleaned, and I asked my dentist about wire. He sent me to an orthodontist friend who gave me a piece of thin but very stiff orthodontic wire. It did the trick. All I needed was to support the top line that contained the loops and joins of the original wire. I whip stitched the orthodontic wire to the back of the piece between the first 2 rows of beads. It is barely visible and improves the hang immensely. Joanne

Here are the final shots and details of each couple. I am still waiting to here when and where the deck of cards may be purchased and when and where (in Pittsburgh, PA) the exhibit of all the card pieces will be. I will post here when I know. 

Sunday, December 20, 2009

FGP#16 Second Disco Ball

The second, smaller disco ball has a different orientation showing the bottom of the ball. I choose to start with a circular bead ladder at this bottom circle. After a few rounds, the smaller ball is attached to the side of the first and larger one.


Rounds of brick stitch continue with smaller beads on the bottom and larger beads on the top.


When the bottom edge is neared, a bead ladder is thrown to outline this edge, then filled in. As before, bead ladders in new areas are done in small increments. It is much easier to control the shape of a short bead ladder than a long one.


When the bottom is done, the thread is attached at the top and beadwork progresses upwards. After the smaller ball is completed, rounds of brick stitch are finished around the larger ball adjusting its shape. Joanne

I think what I like most about doing pictures in brick stitch is that the designing decisions are not done with the original collage. Decisions need to be made and adjusted continually as the bead stitching progresses. I find that once all the decisions are over and done with as in working a charted design, I lose interest. Tweaking the design, changing it, making it work is the carrot that keeps me going. Joanne

Saturday, December 19, 2009

FGP#15 First Disco Ball

The original collage was made with disco balls that were photos of pictures. I was never quite satisfied with them. I searched until I found a real disco ball that I could photograph and do so in several orientations. I am much happier with these new photos so have pasted them over the original disco balls.


To begin the beadwork, I chose a line in the photo to make as my first bead ladder. It happens to be in the lower middle of the ball. And remember, I do not do a bead ladder the length of the line, I do the bead ladder in 1"-2" stages, curving the line by increasing, decreasing, and bead size changes in the second and third rows. I decided to add bugles and rectangular beads to add to the mirrored tile effect of the disco ball. I am using 8 lb fireline as a thread. The largest beads will be in the center, belly, of the ball to attempt to add dimension.


As the beadwork progressed, I shaped the curving lines by tapering the edges with 2 and 3 drop brick stitch (that is adding 2 or 3 beads at a time in a single stitch).


When I came near the bottom, I stopped and restarted at the bottom and then worked up, attaching the two pieces.


I then went back to the original line and added beads on the other side working upwards and incorporating the arm of the female disco dancer.


When the top of the ball was completed, I did an extra row of brick stitch around the circumference of the ball to smooth out the edges. Note that this stitching requires a large selection of beads of varying colors, sizes, finishes and shapes. I tried to follow the value differences in the disco ball photo and use specialty beads to enhance the dimension and reflection of the ball. Fun! Joanne


Thursday, November 26, 2009

FGP#9 Female Disco Dancer

Turkey Day but I got up early. Luckily I have a husband who does the holiday dinners. So while he is preparing the turkey, I can be over in my back yard studio finishing up and posting Ms Disco.

First is to pick a place to begin. I chose the waist. Note that I am ignoring the colors of the photo and doing all of my dancers in the same color range as the first pair. Ms Disco poses an additional problem as the photo I am working from is particularly bad (I photographed UTube video clip dancers off my computer screen and then pasted different dancers together to get the pose and costume that I wanted).

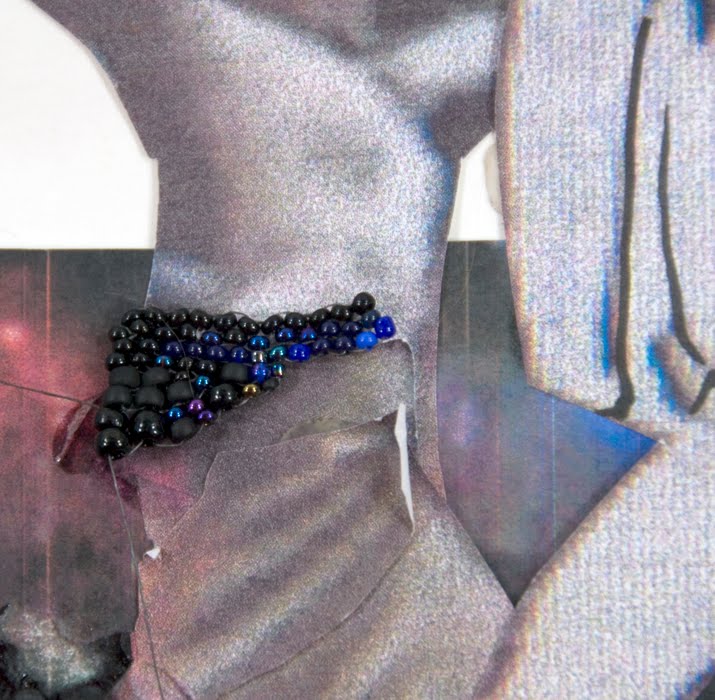
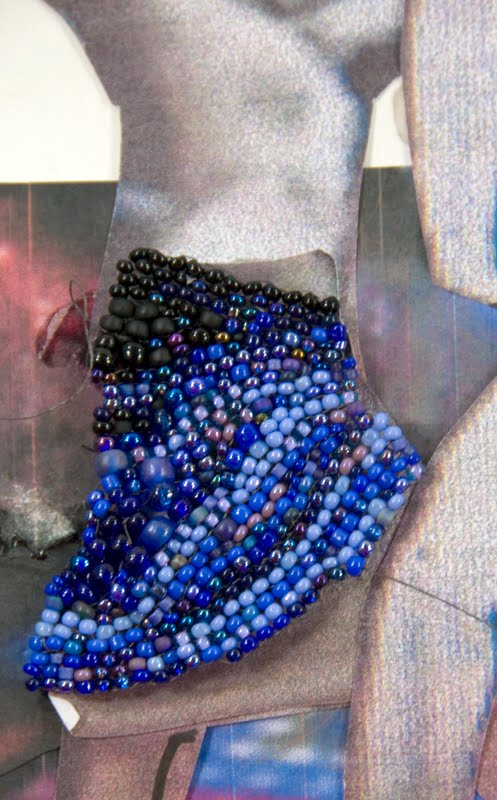
In working the skirt, I exaggerated the creases in the skirt by stitching short rows to emphasize movement. When the skirt was at an appropriate place, I joined it to Mr. Disco's leg. Ms Disco's legs were done in the same manner previously describes in past posts. And off course she needs platform shoes.

When the lower body was finished, I went back to the waist and worked the torso upwards, extending bead ladders for the arms. Shading the bead colors and sizes provides roundness to the body and bust.

Hair and face were last. Due to the small size of the face area and the resolution limit of the bead size, face detail needs to be kept to a minimum. Now its time to go enjoy family and dinner. Joanne